

Publishing
Publishing and unpublishing content can happen (and not happen) in many ways. It's important to know how items get published and unpublished by the system, and how doing either can affect other actions you may take with pages and assets.
NOTE: Deleting or moving pages are actions that are best done after unpublishing is done first. There are tools available within the Adobe Experience Manager administrative system that web administrators will have access to that address page deletion issues. Those tools will be documented soon, but page deletion errors should be filed as support tickets.
Difference between On time and Publish Later
The difference between using the On time parameter in a page's properties and using the Manage Publication action's Publish Later parameter is the On time option allows for additional edits to be made to a page before publication, while the Publish Later option will not save any changes made after the action is invoked and before the chosen publish time.
What this means is, if I set an On time for midnight and publish the page and need to make an edit at 10:00 PM, I can make that edit and just invoke Quick Publish or Publish page from the Page Information menu in the Edit interface and the edit will be in the version published at midnight. If I used Manage Publication and set the page to Publish Later at midnight and clicked publish, I cannot make an edit to the page and have it appear in the midnight version. A snapshot of the page is saved for publishing when you use Publish Later, while the page is rendered at midnight and published using the On time method.
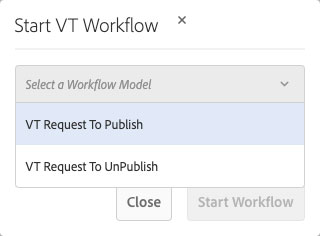
Publishing from a workflow
The entire workflow process is well documented elsewhere on this site. However, this is the primary way that contributors to a site that they do not own publish content.
Publishing from My Sites interface
The My Sites and My Assets interface has two actions for publishing content.
Quick Publish aloows you to select one or multiple pages or assets for submission to the publishing queue immediately.

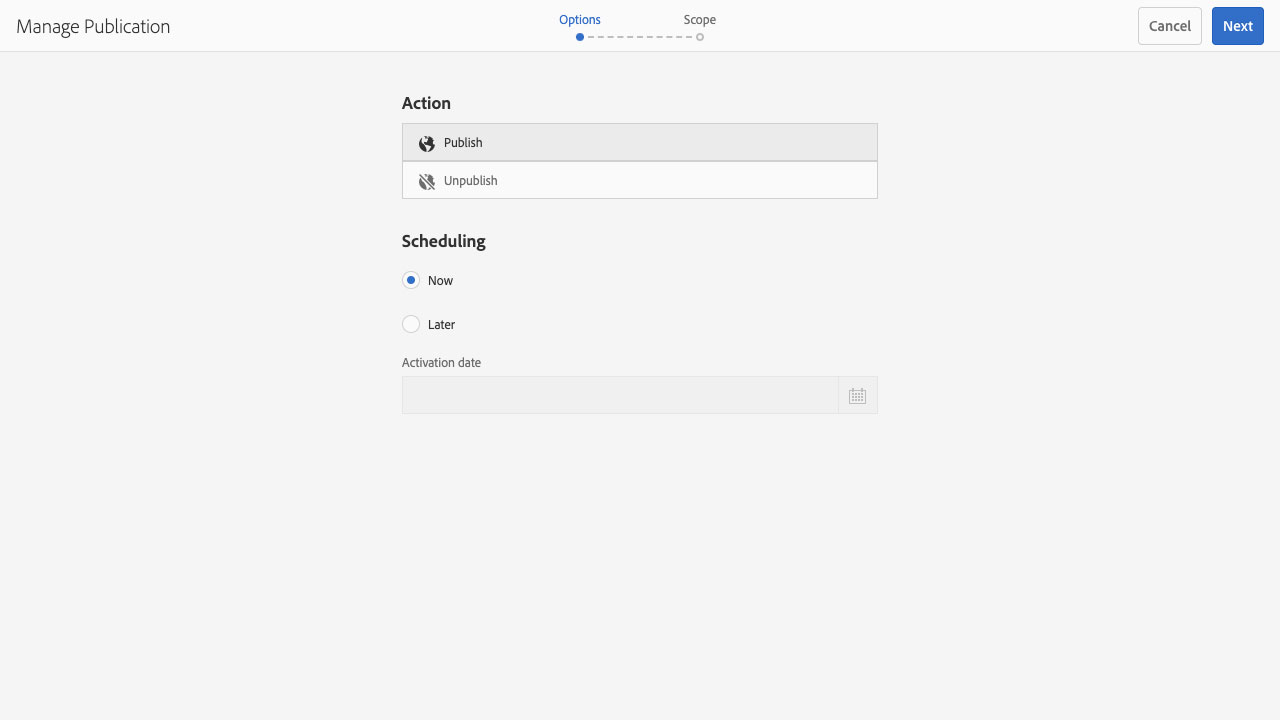
Manage Publication allows you to publish or unpublish pages and assets. There is an option for Now or Later. The caveats of publishing later were described above.
Publishing from page Edit interface
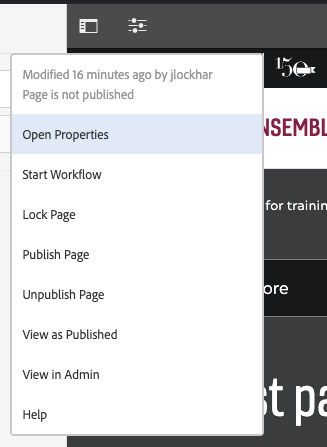
The Page Information menu (slider icon top-left) in the page Edit interface also has a Publish and Unpublish page option. The item will be queued for publish or unpublish immediately.
If you are publishing from a site that is externally hosted in Amazon CloudFront (vt.edu, news.vt.edu, ensemble.cms.vt.edu) you will need to publish your pages from the Edit mode and then request a cache invalidation.
- Click on the Page Information menu
- Select the Publish Page option
- Wait for the blue notification window to appear
- this can take some time when server is busy


After the notification that the page has been published has appeared, you can now Request CloudFront Cache Invalidation via the Page Information menu and have the live content update.
- Click on the Page Information menu
- Select the Request CloudFront Cache Invalidation option
- Wait for the blue notification banner to appear before closing the Edit window
- this can take several seconds depending on how busy the server is
- Content may take hours to update if step is skipped

